

Google Chrome is already filled with lots of tools to help with building and debugging websites. However, there are many times a site is lacking a feature, or an entire class of web applications would be better off if some feature could be added, or aspect changed. Essentially, can you extend Chrome, to do helpful things? The answer of course is yes, and they come in the form of Chrome Extensions.
The goal of this post is to share how to build a simple Chrome Extension and give clarity to various aspects of how this is done, limitations, expose features, etc.
To see some of the hundreds of thousands of Chrome Extensions, please visit the Chrome Web Store.
Basic Architecture
The basic extension architecture consists of a mix of folders and files. For our example extension, that we will call “simple-chrome-extension”, contains the following file system items, starting with the root folder:
simple-chrome-extension (folder)
manifest.json
scripts (folder)
content-script.js
NOTE: You can structure your extension in many ways, the only true requirement is manifest.json must be in the root of the extension folder. Additionally, there are many other files not listed here, as extensions will vary.
So what do each of these files mean:
manifest.json - The confirmation file of the extension. Everything from the name, its current version number, what icons to display, Chrome API keys, permissions that are needed, what file represents the extension service worker, option popup HTML, etc. See manifest file format and manifest examples for more details.
content-script.js - Contains the code that is injected into the web page. This is where your code will reside if you need to interact with a web page directly via the DOM. A content script does not have full access to the Chrome APIs, but you can interact with the full API via messaging with the service worker.
There is another key file I will call out here even though we will not use it in this example, the service worker script.
service-worker.js - The core script that will run in the background. The service-worker.js specifically is to organize the functionality of the extension and listen for events. It is isolated from the page itself so is unable to directly interact with it. See Chrome Extensions API.
You can find other relevant files and how they work in the architecture overview docs here.
Extension Buildout
So what are we building? This extension will simply replace a word you select, with the word “Boof!” in honor of the small dog this blog is dedicated to. The first thing you want to do is create a folder named after the extension, so in this case, in my Repos folder:
/Users/rob/Repos/simple-chrome-extensionmanifest.json
As noted earlier, the most critical file (and location of said file) is the manifest.json, placed inside the root of the folder we just created. By later selecting this folder Chrome will then look inside it, for the manifest, to properly load your extension (which we will get to later).
Here is the contents for this simple extension’s manifest:
{
    "manifest_version": 3,
    "name": "Simple Chrome Extension",
    "version": "1.0",
    "description": "Changes a clicked word to say Boof!!!",
    "permissions": [
        "activeTab"
    ],
    "action": {
        "default_popup": "popup.html"
    },
    "content_scripts": [
        {
            "matches": [
                "<all_urls>"
            ],
            "js": [
                "content.js"
            ]
        }
    ]
}
A few observations here:
Note we called the content script file just “content.js”. We can call it anything you like, it’s just a common practice to use content-script.js as its name but is not a hard requirement.
We are targeting version 3 of the manifest format, though earlier versions are still supported.
In terms of permissions we only added activeTab so it can give the extension temporary access to the page when loaded. More details can be found here.
We left content_scripts.matches with a value of “all_urls”, which actually could have been left out due to the activeTab permission. This was left purely for our local development.
The popup action, which refers to when you click your icon in the extensions toolbar opening a popup, this is the popup it opens.
popup.html
Speaking of the popup, here is the HTML for this file:
<!-- popup.html -->
<!DOCTYPE html>
<html>
  <head>
    <title>Simple Chrome Extension</title>
  </head>
  <body>
    <h3>Simple Chrome Extension</h3>
    <p>Click a letter in a word, and get barked at by Mya Papaya!</p>
  </body>
</html>
content.js
Now for the heavy lifting (not really). Our content.js will be the file that is allowed to interact with the DOM of the page, so this is where we will place our Javascript code to do our interaction. Of course, the interaction is to change the word clicked to say “Boof!!!”. Here is the code along with some helpful comments describing it:
// content.js
document.addEventListener("click", function (event) {
    const target = event.target;
    const clickedChar = getClickedCharacter(event); // Get the clicked character
    const parentElement = event.target.parentElement;
    const textContent = parentElement.textContent;

    // Find the start index of the word
    let startIndex = textContent.lastIndexOf(' ', clickedChar.index) + 1;

    // Find the end index of the word
    let endIndex = textContent.indexOf(' ', clickedChar.index);

    if (endIndex === -1) {
        endIndex = textContent.length;
    }

    const clickedWord = textContent.slice(startIndex, endIndex);

    // Replace the clicked word with the new word
    const newWord = "Boof!!!"; // Replace with the word you want
    const newTextContent = textContent.slice(0, startIndex) + newWord + textContent.slice(endIndex);
    target.textContent = newTextContent;
});

function getClickedCharacter(event) {
    const selection = window.getSelection();
    const range = selection.getRangeAt(0);
    const clickedCharacter = range.startContainer.textContent[range.startOffset];
    const clickedIndex = range.startOffset;

    return {
        character: clickedCharacter,
        index: clickedIndex
    };
};
Deploying the Extension Locally
In this post we are only going to discuss running this extension locally, not sharing on the Chrome Web Store. You can however share the extension with others, as long as they enable development mode in their instance of Chrome to run it.
One way to add your new extension to Chrome, using one of the Chrome URL endpoints, is simply open a new tab and navigate to:
chrome://extensionsDepending on your browser, Chrome will look something like this:
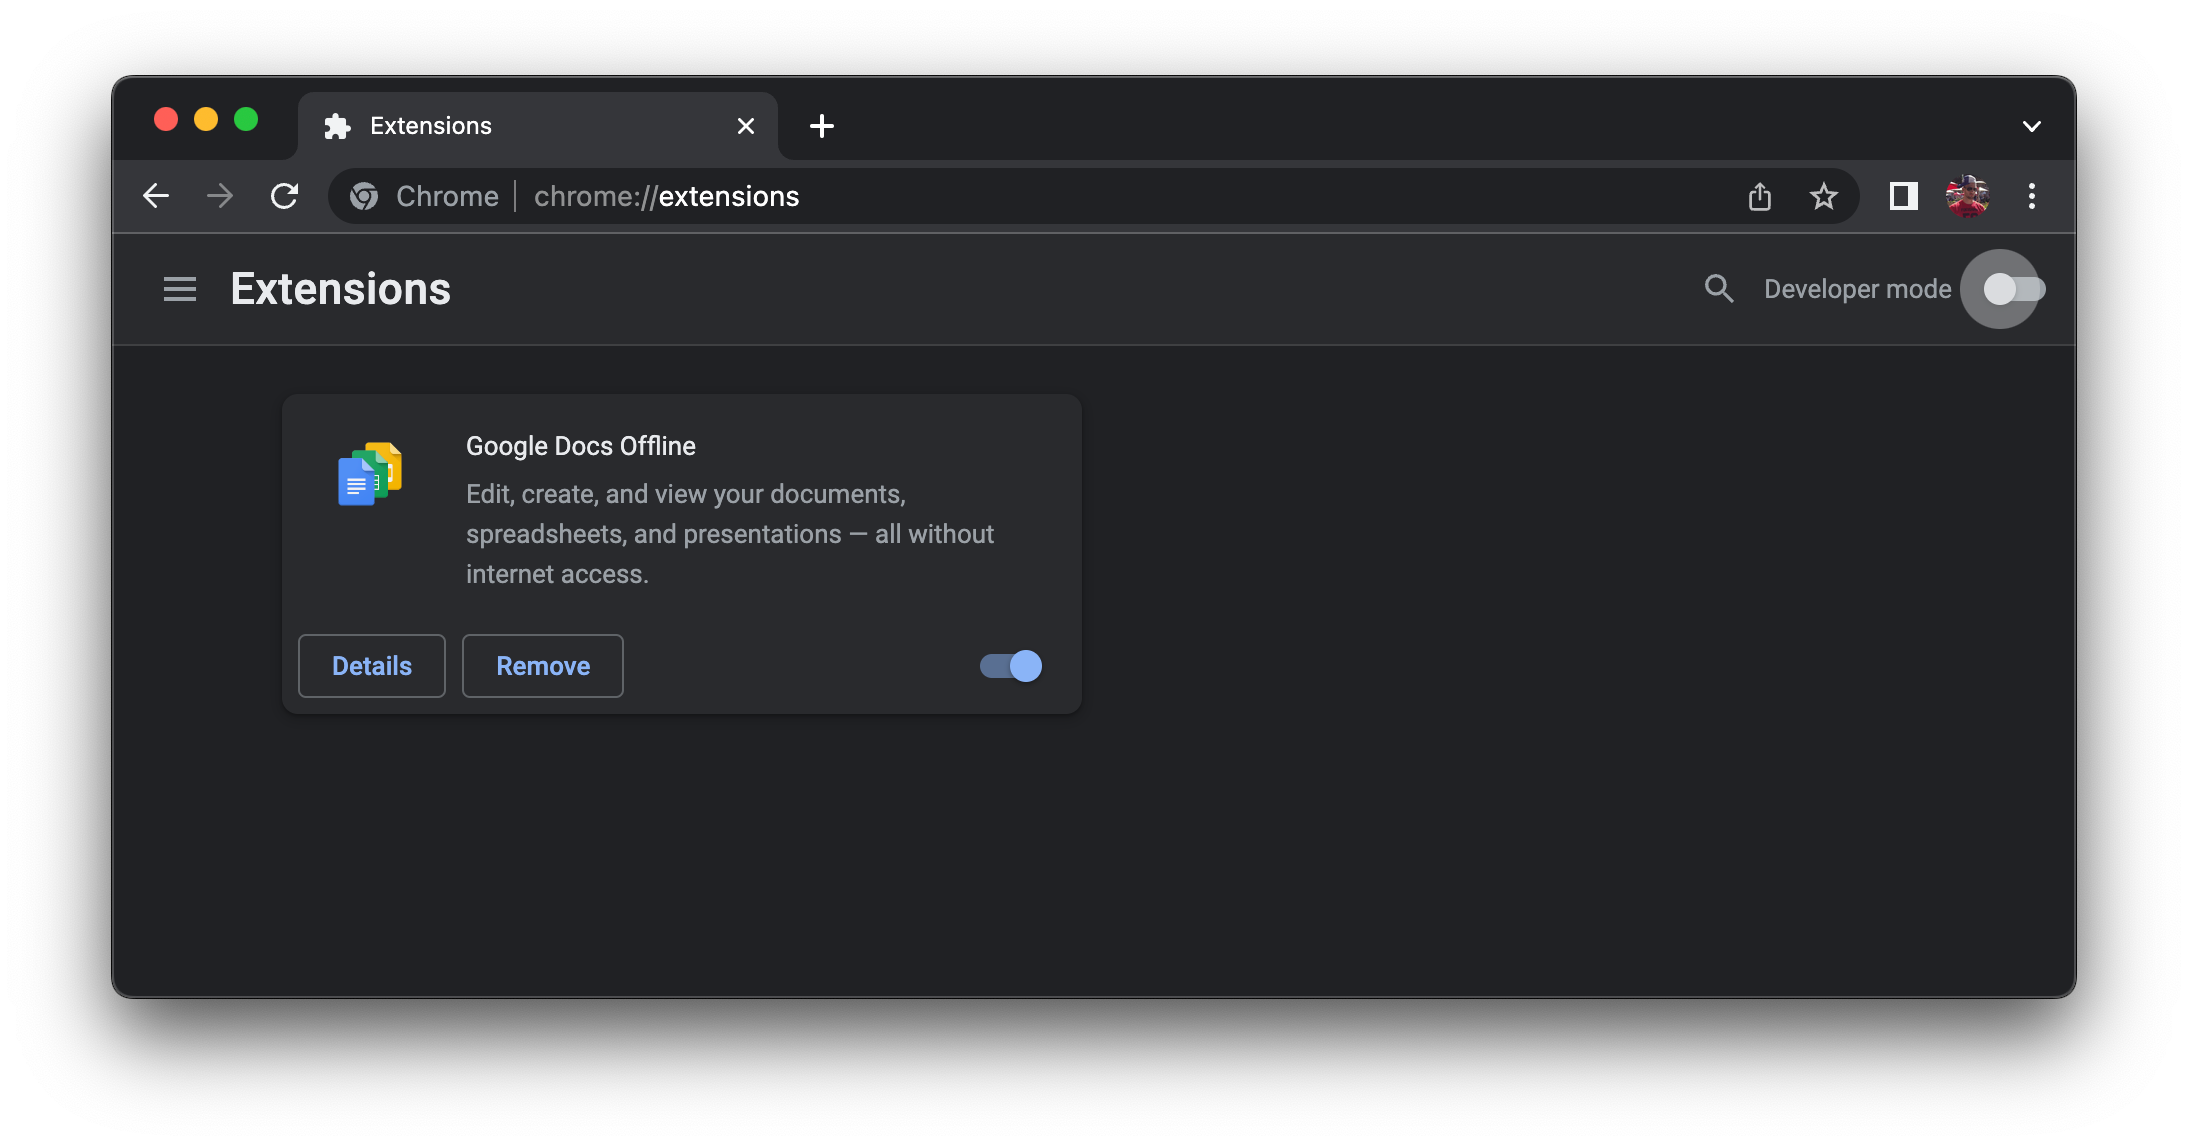
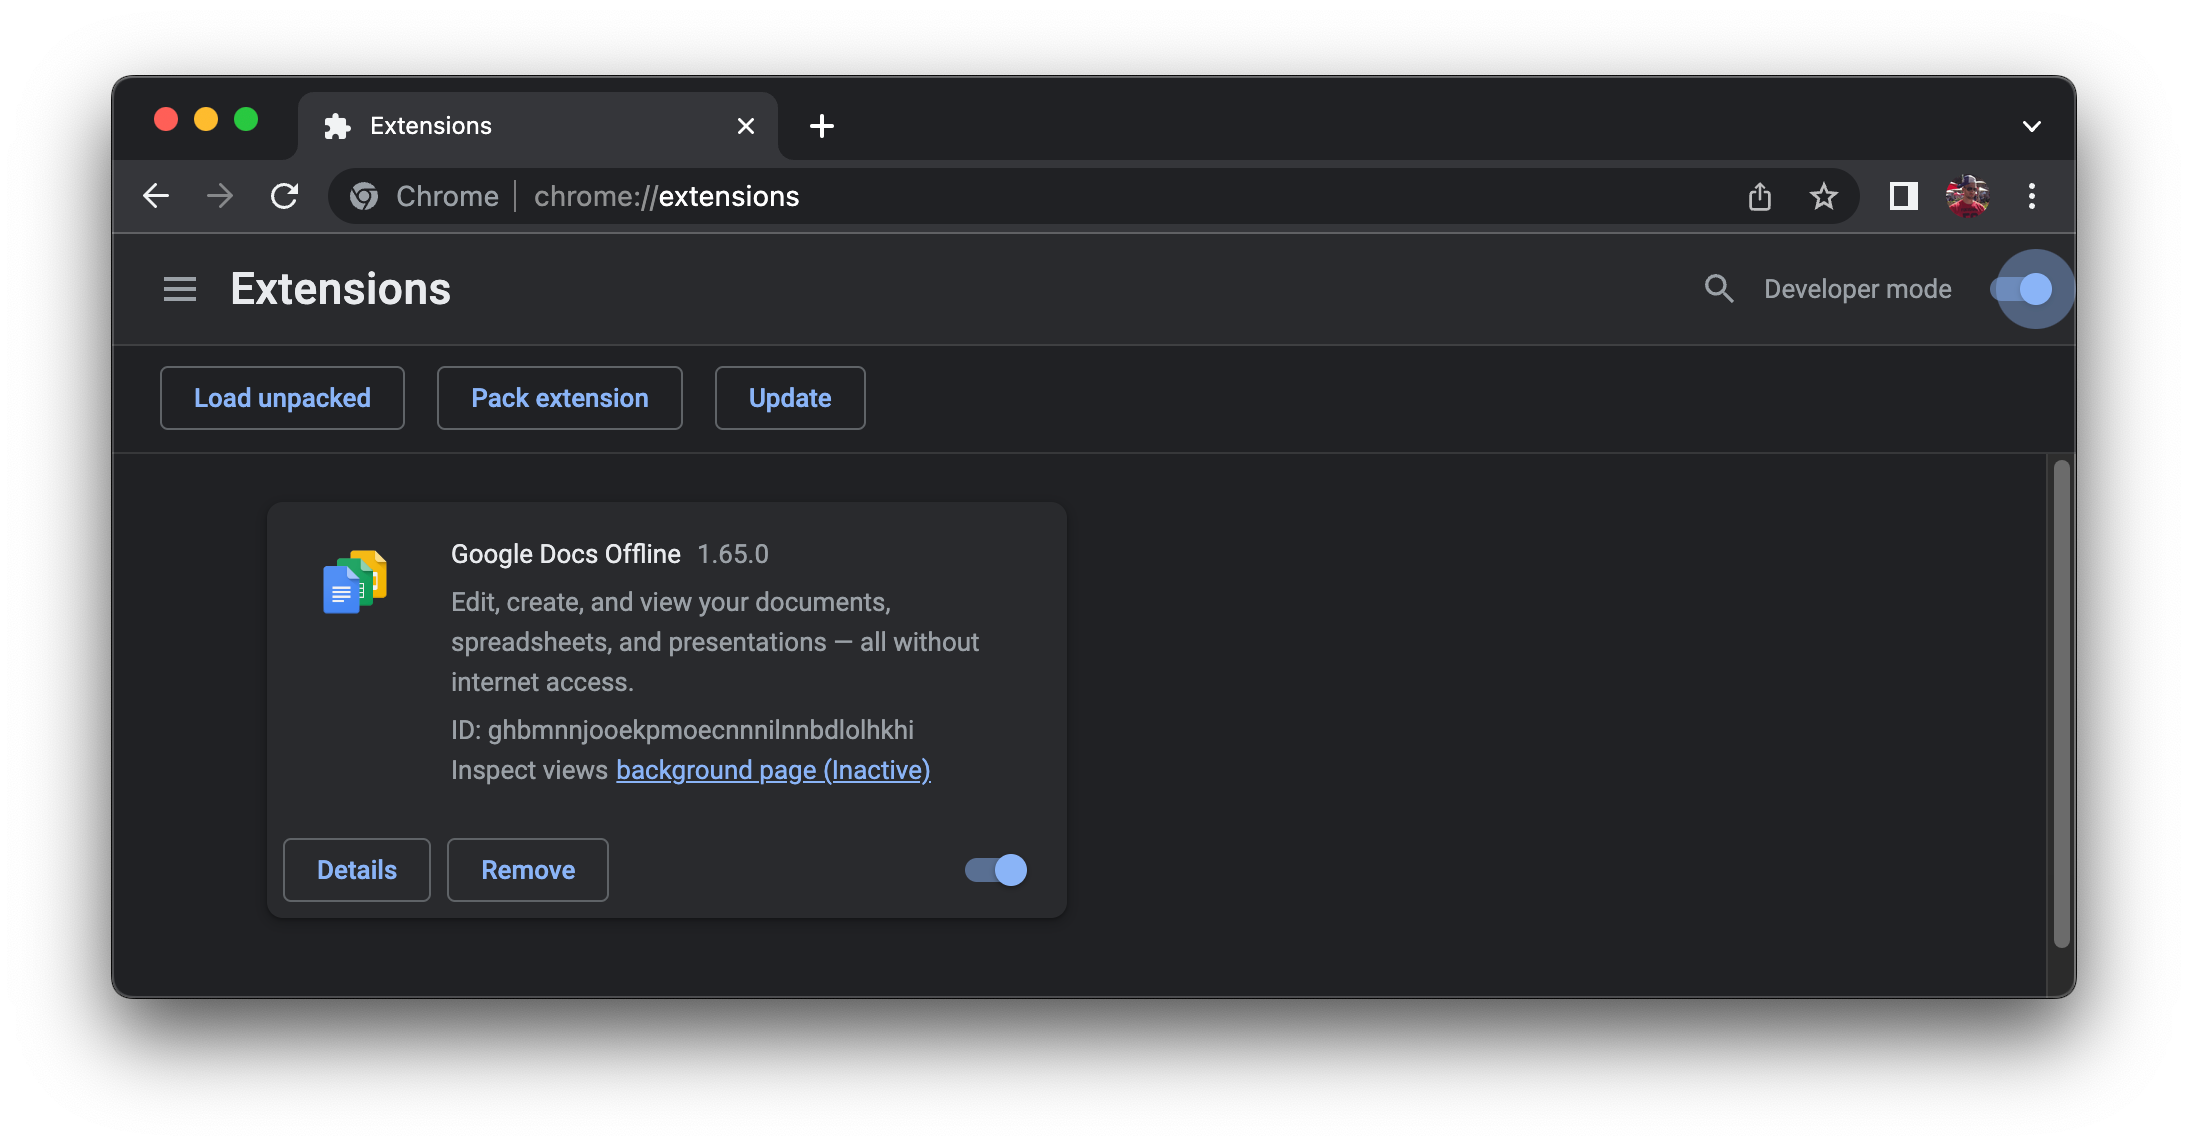
See in the top right corner? You will need to click the “Developer mode” slider to unlock Chrome to allow your local extension to be loaded. The page should have updated to include additional features to load, pack, and update extensions, as well as new functionality on any installed extensions, such as you see here:
From here all you need to do:
Click Load unpacked.
Navigate to your extensions folder, in my case, /Users/rob/Repos/simple-chrome-extension.
Click select (on the folder level, not any file inside it).
Barring any mistakes, you will see it loaded in Chrome like this:
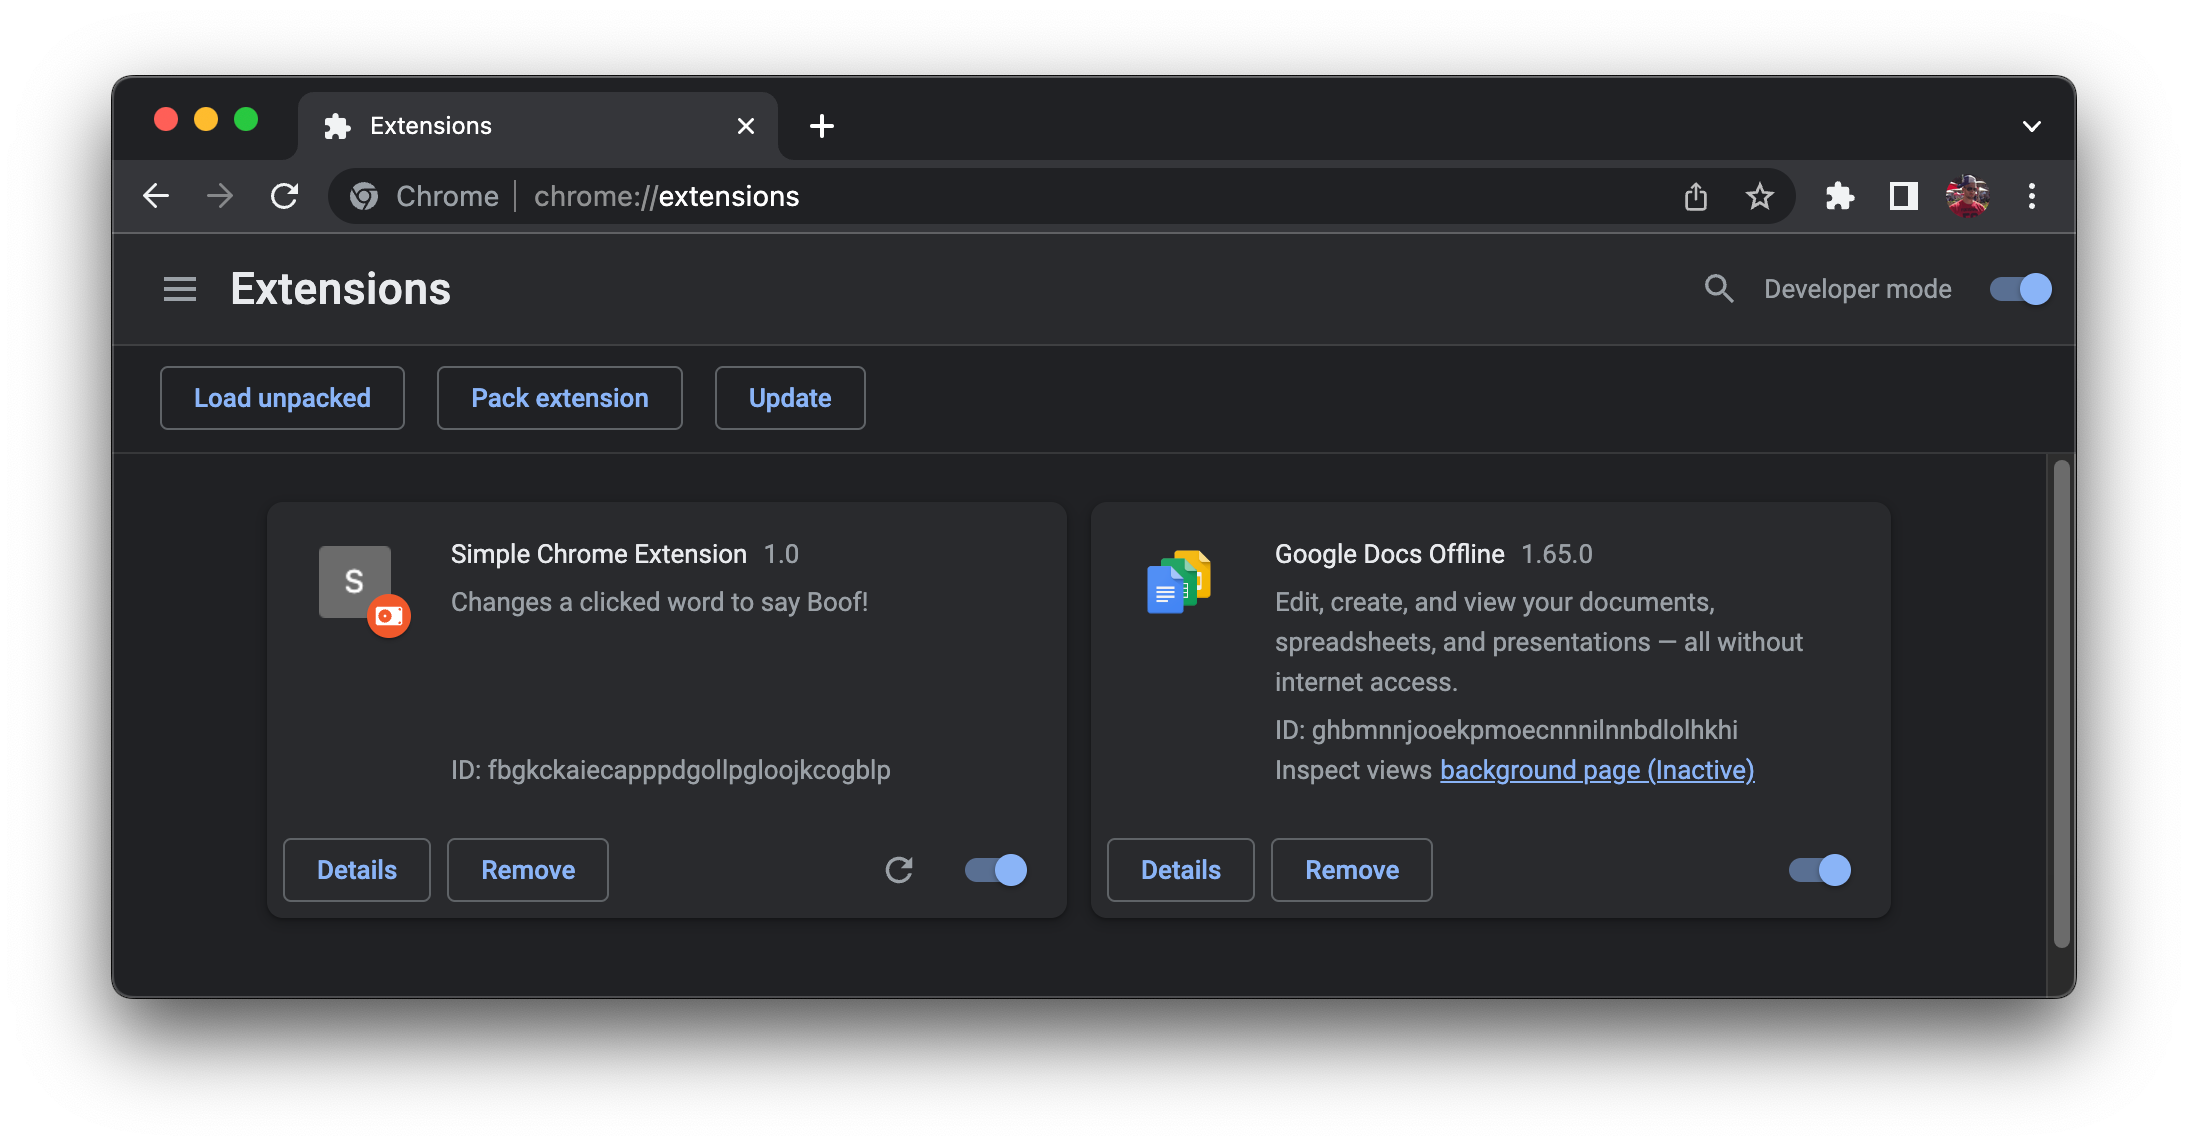
A few things to note here:
You can remove your extension here by clicking Remove.
You can disable it by clicking the extensions slider.
If you update something, like your description in the manifest.json, you can refresh here by clicking the refresh icon (after you save your file).
“Details” will open a detailed view of your extension where most of the main page functionality is duplicated, but also you can control things like what sites it can access, if it works in Incognito mode, works against file system files that are loaded in Chrome, etc.
Using the Extension
While we are not setting the world on fire here, it’s still good to confirm things are working as intended. First, you can check the popup by clicking your extension icon, the result will look something like this:

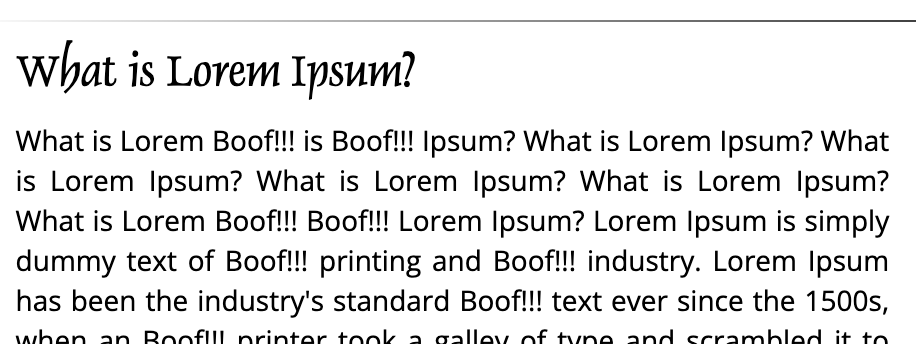
To validate the functionality, we are going to go to https://www.lipsum.com/, which currently looks like this:
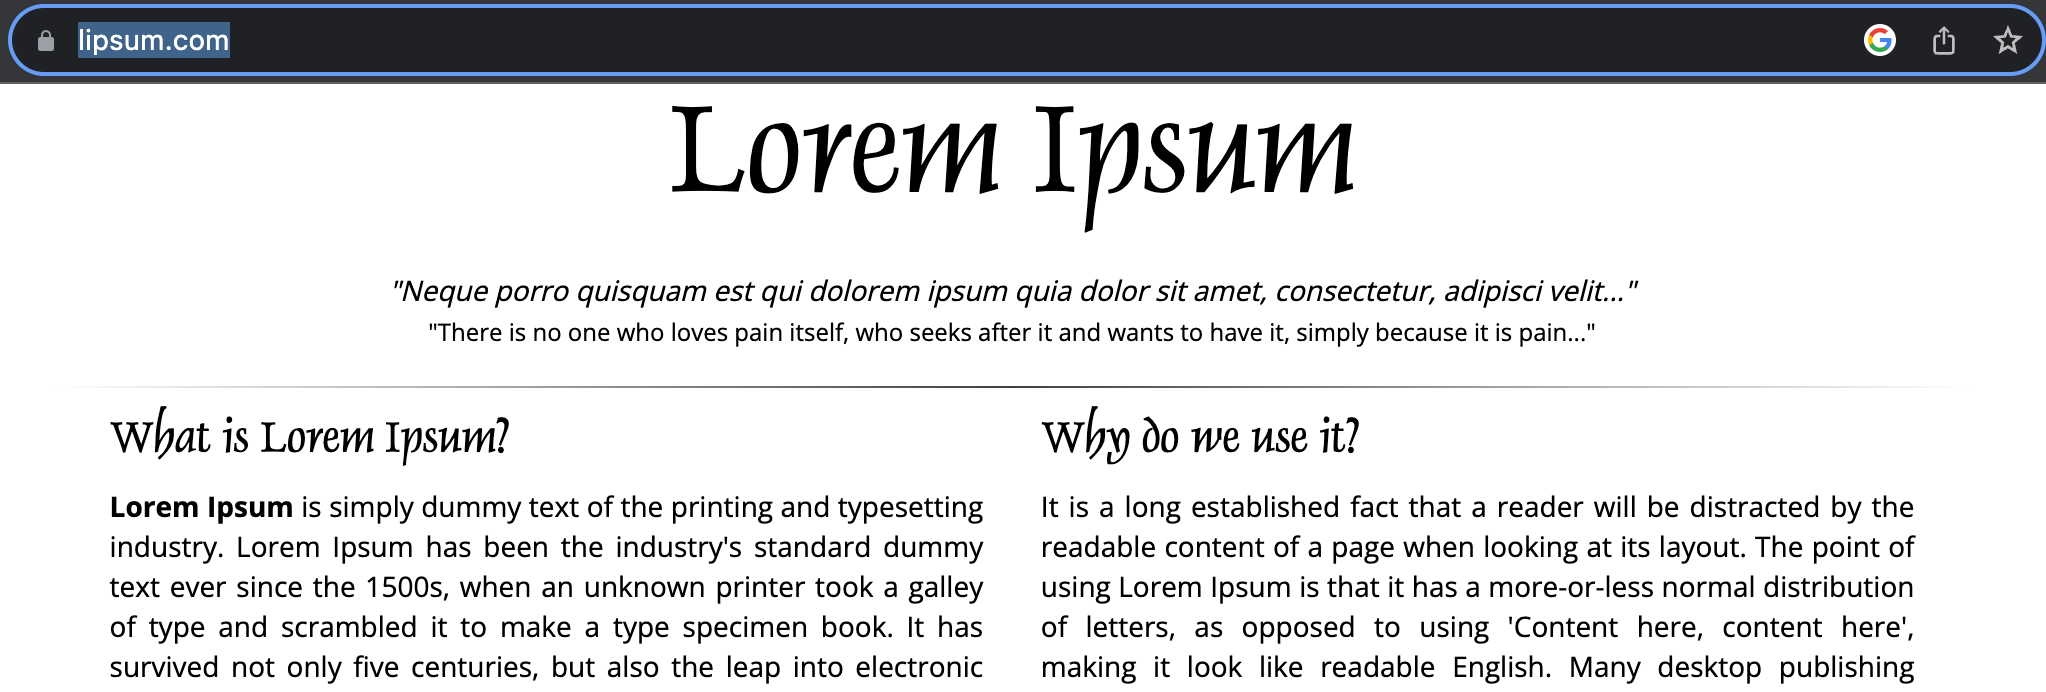
Given the extension is ready to go, now clicking a few words, you can see some inspirational “Boof!!!” from Mya Papaya:
Wrap Up
Of course this is a trivial example but it was critical to understand the underlying basics of an extension. Next steps here would be of course to expand the extension to be relevant to your needs, including interacting outside of Chrome itself!
The code for this post can be found on GitHub here.
Update
Here is a link to a slightly more advanced Chrome extension, one that can listen to all the network requests and list out their domains in the side panel while you browse:
